
Sourdough Flour Tortillas (made with discard or not)

Thin, tender flour tortillas made with sourdough starter — use discard or active starter. Roll paper-thin, cook on a piping-hot skillet, and enjoy flexible, flavorful wraps in 45 minutes.
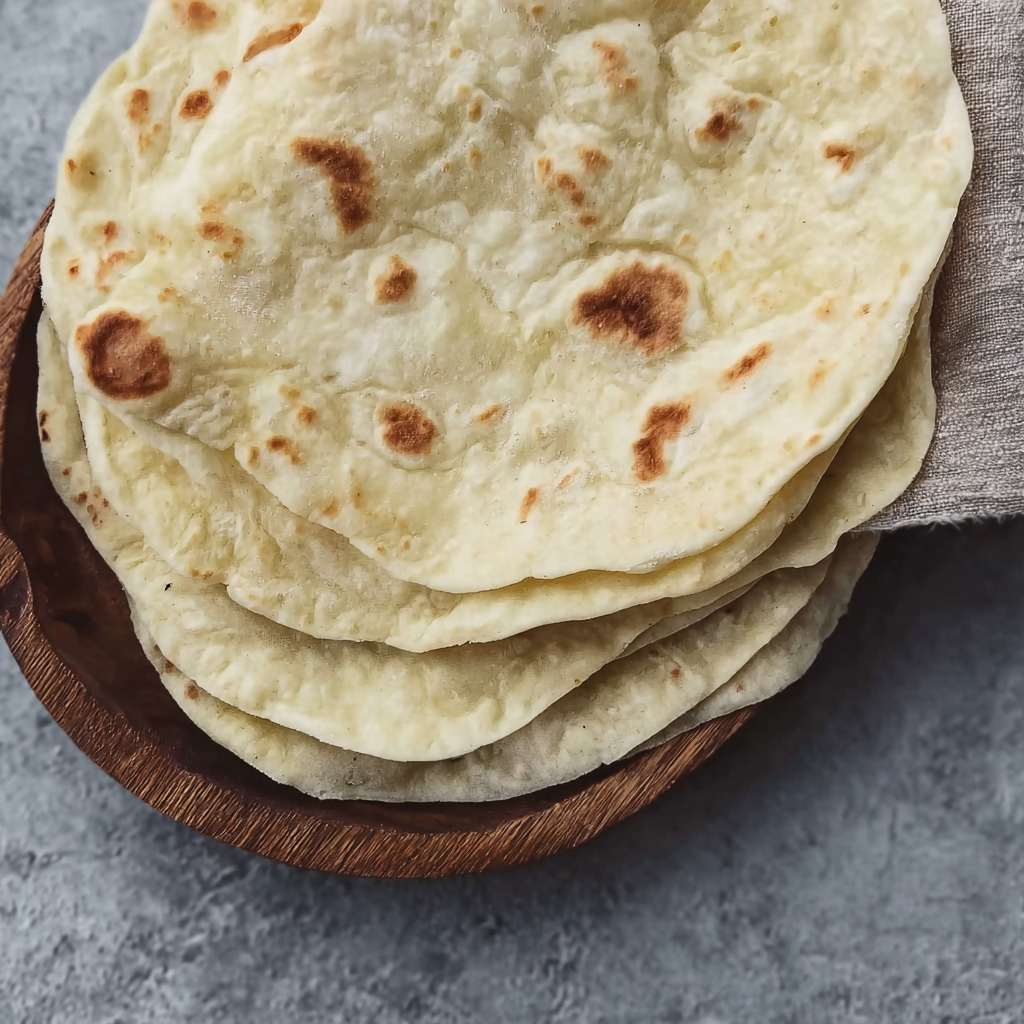
This recipe for sourdough flour tortillas has been a quiet kitchen hero for me ever since I started keeping a starter. I first made them on a lazy weekend when I had a little discard to use up and no desire to babysit a loaf. The combination of a mild tang from the starter and the buttery mouthfeel from a bit of softened butter produces tortillas that are pliable, subtly complex, and perfect for tacos, burritos, or slathering with butter and rolling up for a snack. The technique is simple — two keys matter most: roll the dough as thinly as you can, and get your skillet piping hot — everything else falls into place.
I discovered this approach during a month when I was experimenting with eliminating waste from my kitchen; letting a little discard become part of a flatbread felt like the perfect solution. The tortillas came out soft and slightly blistered, with a faint, pleasant tang that our whole family loved. My kids declared them better than store-bought and requested them for every taco Tuesday we’ve had since. With just six pantry staples, a rolling pin, and a hot pan, you can transform morning eggs, leftover roasted vegetables, or curried beans into an unforgettable meal.
Why You'll Love This Recipe
- Fast and forgiving: ready in about 45 minutes from start to finish, with only a short resting window of 30 minutes (or up to 24 hours refrigerated), so it's perfect for weeknights or last-minute meals.
- Waste-friendly: works beautifully with sourdough discard, so you can use up starter and add flavor without extra effort.
- Pantry-friendly ingredients: unbleached all-purpose flour, kosher salt, butter, water, and starter — no specialty flours or yeast required.
- Versatile size: divide into 6 for large burritos or 12 for taco-sized tortillas; they fry up soft and pliable or with a little char if you like crisp edges.
- Make-ahead options: dough balls keep in the fridge for 24 hours and cooked tortillas freeze for up to 3 months, making meal prep a breeze.
- Kid- and crowd-friendly: neutral flavor that pairs with savory fillings and can be lightly buttered for little hands.
Personally, the first time I rolled one paper-thin and watched it puff dramatically on a hot skillet I was hooked. It’s a small kitchen thrill with immediate payoff: a warm stack, steam rising, and the smell of toasted flour — pure comfort. Family reactions range from impressed surprise to immediate second-helpings; this little recipe has rescued many rushed dinners in my house.
Ingredients
- Unbleached all-purpose flour: Use 1 1/2 cups. I prefer King Arthur or Bob's Red Mill for consistent results; the protein content gives enough structure to roll paper-thin without tearing.
- Kosher salt: 1 1/4 teaspoons. Salt enhances flavor and strengthens gluten slightly — Diamond Crystal or Morton both work; if using table salt, reduce slightly.
- Softened butter: 1/4 cup. The butter adds tenderness and flavor; for dairy-free swaps use neutral oil (see substitutions). Cut into small pieces so it folds into the dough evenly.
- Water: 1/3 cup plus 1 tablespoon. Lukewarm water helps the dough come together more smoothly; measure precisely for a consistent, non-sticky dough.
- Sourdough starter: 1/2 cup active or discard. A fed starter adds lift and tang; discard works fine and reduces waste — both produce tender tortillas.
Instructions
Whisk dry ingredients: In a medium bowl, whisk together the flour and kosher salt so they’re evenly distributed. This step ensures consistent seasoning and avoids pockets of salt. Use a scale if you prefer precision: 1 1/2 cups typically equals about 210 g. Cut in the butter: Use the back of a fork, a pastry cutter, or your fingertips to work the softened butter into the flour until the mixture looks like coarse crumbs and holds together when pressed. The goal is even distribution, not complete incorporation — little flecks of butter help create tender layers as the tortillas cook. Add water and starter: Stir in the water and sourdough starter with a spatula until a shaggy dough forms. If using discard, its hydration will blend seamlessly. Gently knead in the bowl with your hands until it comes together into a loose ball; the dough should be soft but not sticky. Knead briefly: Turn the dough onto a lightly floured surface and knead 1 to 2 minutes until smooth and no longer sticking. Over-kneading toughens the dough; you want enough gluten development to roll thin without springs back—about the time it takes to count to 30 twice. Divide and rest: Cut the dough into 12 pieces for taco-size or 6 pieces for burrito-size. Shape each into a ball and cover with a very light towel or plastic wrap. Let rest 30 minutes at room temperature, or refrigerate for up to 24 hours if you want to make ahead. Resting relaxes the gluten, making rolling much easier. Roll as thin as possible: On a lightly floured surface, roll each ball into a circle about 6–8 inches for tacos or 10–12 inches for burritos. Aim to see the counter faintly through the dough — this is the secret to soft, flexible tortillas. Keep the surface and rolling pin lightly floured to avoid sticking, but use flour sparingly to prevent toughness. Cook on a hot skillet: Heat a 10–12 inch heavy skillet or cast-iron pan on medium-high until very hot. No oil. Lay a tortilla in the pan and cook until it puffs and brown spots appear on the underside, about 20–30 seconds, then flip and cook another 20–30 seconds. Each tortilla cooks roughly 60 seconds total; if you like char, leave it in a little longer. The first 3–4 may be pale while the pan comes to temperature — adjust heat as needed. Rest and store: Stack cooked tortillas and wrap them in a clean towel to keep warm and pliable. Once cool, store in an airtight bag at room temperature for up to 5 days or freeze for up to 3 months. Reheat gently in a hot skillet or microwave wrapped in a damp paper towel.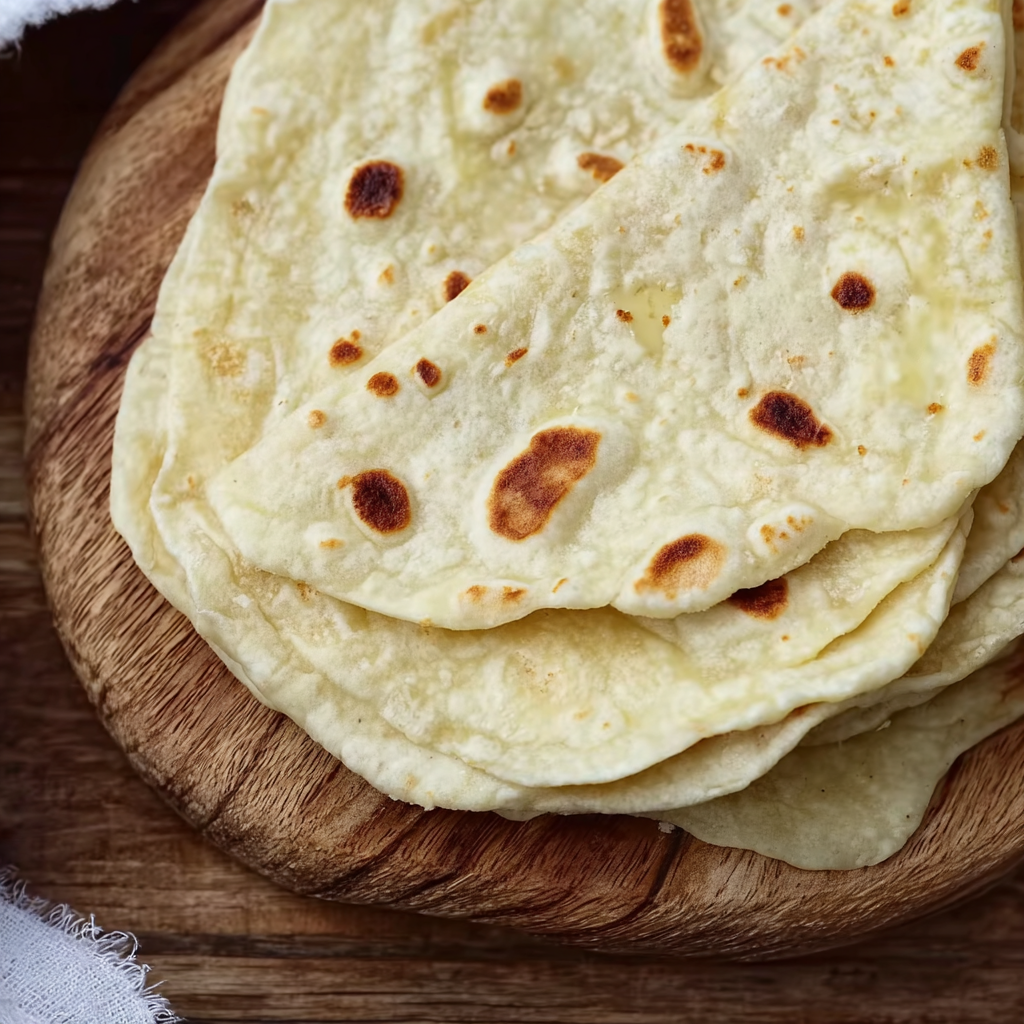
You Must Know
- These tortillas are high in carbohydrates and gluten — not suitable for those avoiding gluten. If you need dairy-free, swap the butter for neutral oil (see substitutions).
- Resting is optional but recommended: 30 minutes relaxes gluten for easier rolling; refrigerate dough balls up to 24 hours if making ahead.
- Tortillas freeze well for up to 3 months; thaw at room temperature and reheat in a hot skillet for best texture.
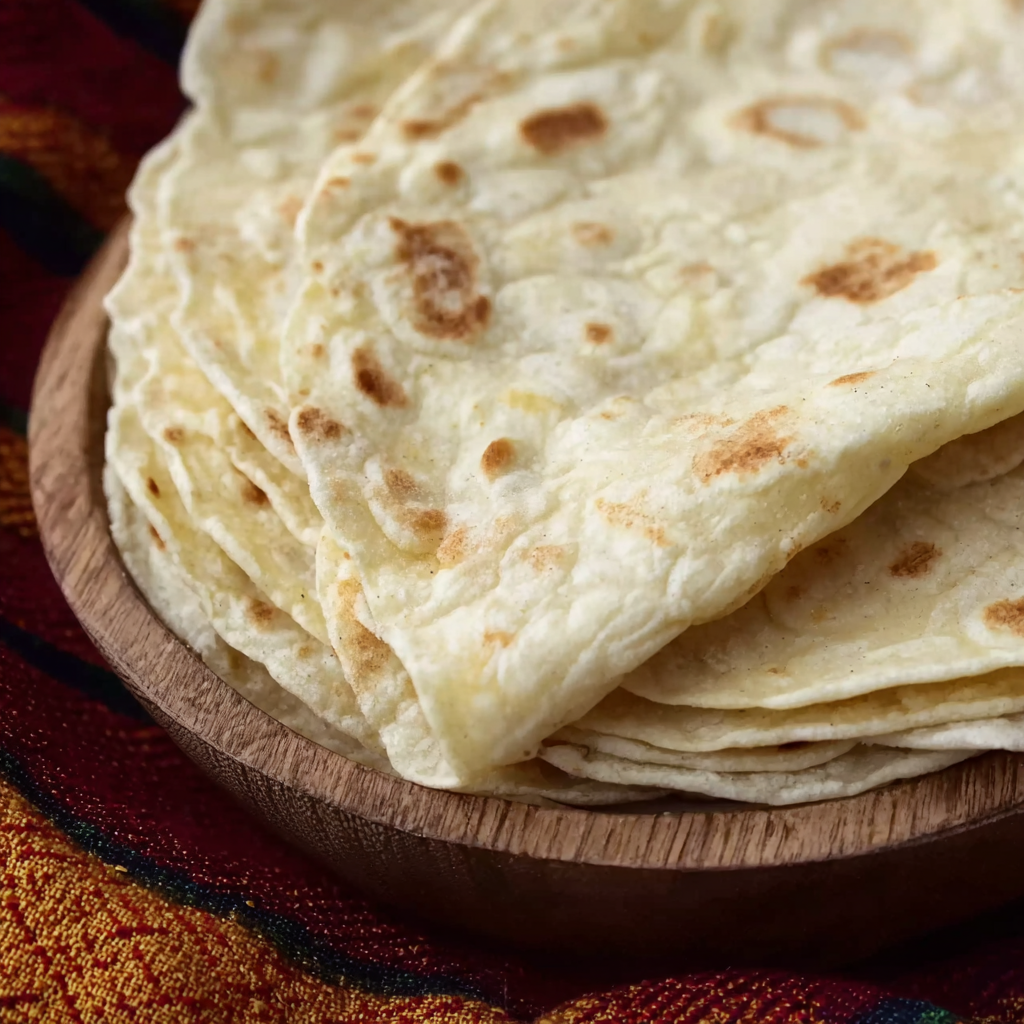
- Cooking on a very hot, dry skillet creates the classic blistered look and toasty flavor. Avoid oil in the pan to get those characteristic spots.
My favorite aspect is the immediate versatility: morning eggs folded into a warm tortilla, or a simple grilled vegetable taco elevated by the faint tang of the starter. These have become the backbone of many weeknight dinners in our home — quick, flexible, and always satisfying.
Storage Tips
Cooled tortillas should be stacked with a little parchment between if you plan to freeze them. Place the stack in a freezer-safe bag with as much air removed as possible; they keep beautifully for up to three months. For short-term storage, an airtight container or resealable bag at room temperature will keep them soft for about five days. To reheat, warm a skillet over medium heat and heat each tortilla 10–20 seconds per side, or microwave a stack of 2–3 wrapped in a damp paper towel for 20–30 seconds.
Ingredient Substitutions
If you want dairy-free, replace the 1/4 cup butter with 1/4 cup neutral oil (vegetable, grapeseed, or light olive oil) — texture will be nearly identical though flavor slightly different. For whole-wheat versions, swap up to half the flour for whole-wheat pastry flour and expect a nuttier flavor and slightly denser texture; increase water by 1 tablespoon if it feels dry. If you prefer a puffier tortilla, add 1/2 teaspoon baking powder to the dry ingredients, but note the texture shifts toward a softer, more biscuit-like profile.
Serving Suggestions
Serve warm with grilled meats, roasted vegetables, or folded around scrambled eggs for breakfast. For tacos, top with pickled onions, cilantro, and a squeeze of lime. For burritos, fill with rice, beans, avocado, and salsa for a portable, satisfying meal. A simple brush of melted butter or oil and quick crisp in a skillet creates a delightful toasted shell for sandwiches.
Cultural Background
Wheat flour tortillas became popular in northern Mexico and the southwestern United States where wheat flour was more readily available than corn. These sourdough versions are a modern homestyle twist: incorporating fermented starter introduces nuanced acidity and leverages a baker’s staple to make a humble, traditional flatbread even more interesting. The technique blends old-world fermentation with everyday convenience.
Seasonal Adaptations
In spring and summer, fold in chopped fresh herbs like cilantro, chives, or dill into the dough for bright flavor. In colder months, try warming spices like a pinch of ground cumin or smoked paprika for heartier tacos that pair well with braised meats. For holiday gatherings, make larger burrito-size tortillas and use them as wraps for roasted turkey or leftover festive fillings.
Meal Prep Tips
Make the dough the night before and refrigerate the formed balls; this deepens flavor and saves time the next day. On the day you serve, roll and cook right before eating; cooked tortillas reheat beautifully and can be frozen in stacks of six separated by parchment. For freezing, label bags with the date and portion size; reheating from frozen in a hot skillet for 30–60 seconds per side works well.
These tortillas are an easy way to brighten everyday meals with minimal effort. Try making a double batch and freezing half — you’ll be grateful on busy nights. Most importantly, have fun with fillings and keep rolling until you hit your perfect thinness; that’s where the magic happens.
Enjoy the process: messy hands, hot skillet, and warm, tender wraps. Share them with friends and family and see what delicious combinations they inspire.
Pro Tips
Roll the dough as thin as you can; thinner dough gives the best texture and flexibility when warm.
Preheat the skillet thoroughly. The first few tortillas may be pale until the pan reaches the correct temperature.
Rest dough balls at least 30 minutes to relax gluten for easier rolling; refrigerate up to 24 hours for make-ahead convenience.
Use minimal flour while rolling to prevent toughening; dust lightly and tap off excess.
Stack cooked tortillas and wrap in a towel to keep them pliable while you finish cooking the rest.
This nourishing sourdough flour tortillas (made with discard or not) recipe is sure to be a staple in your kitchen. Enjoy every moist, high protein slice — it is perfect for breakfast or as a wholesome snack any time.
FAQs about Recipes
Can I use sourdough discard?
Yes — use discard or an active starter. Discard works great and adds mild tang. If your starter is very stiff, loosen it with a tablespoon of water before measuring.
Can I freeze these?
Yes — cooked tortillas freeze well for up to 3 months. Stack them with parchment between and store in an airtight freezer bag. Reheat in a hot skillet or microwave wrapped in a damp towel.
Tags
Sourdough Flour Tortillas (made with discard or not)
This Sourdough Flour Tortillas (made with discard or not) recipe makes perfectly juicy, tender, and flavorful steak every time! Serve with potatoes and a side salad for an unforgettable dinner in under 30 minutes.
Ingredients
Dough
Instructions
Whisk dry ingredients
Combine 1 1/2 cups flour and 1 1/4 teaspoons kosher salt in a medium bowl and whisk to distribute evenly.
Cut in the butter
Work 1/4 cup softened butter into the flour using a fork or pastry cutter until mixture resembles coarse crumbs with small butter flecks.
Add starter and water
Stir in 1/3 cup plus 1 tablespoon lukewarm water and 1/2 cup sourdough starter until a shaggy dough forms; bring together with hands.
Knead briefly
Turn dough onto a floured surface and knead 1–2 minutes until smooth and not sticky, taking care not to overwork the gluten.
Divide and rest
Divide into 6 (burrito) or 12 (taco) pieces, shape into balls, cover lightly, and rest 30 minutes at room temperature or up to 24 hours refrigerated.
Roll thin
Roll each ball on a lightly floured surface to 6–8 inches (taco) or 10–12 inches (burrito), aiming for paper-thin circles with the counter faintly visible.
Cook on hot skillet
Heat a 10–12 inch skillet over medium-high. Cook each tortilla 20–30 seconds per side until puffed and spotted; adjust time for desired char.
Store
Stack cooked tortillas, keep wrapped in a towel to maintain warmth and pliability. Store at room temperature up to 5 days or freeze up to 3 months.
Last Step: Please leave a rating and comment letting us know how you liked this recipe! This helps our business to thrive and continue providing free, high-quality recipes for you.
Nutrition
Did You Make This?
Leave a comment & rating below or tag
@kitchenfunwithmy3sons on social media!
Categories:
You might also like...

Salted Honey Pie: 5-Star Decadent Twist on a Southern Classic
Silky honey custard in a crisp, buttery crust with a glitter of flaky sea salt. This Southern-inspired sweet-salty pie is elegant, rich, and surprisingly easy.
The Ultimate Creamy Garlic Parmesan Chicken Pasta You’ll Crave Every Week
Juicy chicken, twirly pasta, and a velvety garlic Parmesan sauce come together in 30 minutes for a one-pan weeknight winner the whole family will love.

The Ultimate Creamy Garlic Parmesan Chicken Pasta You’ll Crave Every Week
Juicy chicken and twisted pasta folded into a velvety garlic-Parmesan sauce. Ready in 30 minutes, all in one skillet, and guaranteed to win dinner tonight.
Did You Make This?
Leave a comment & rating below or tag @kitchenfunwithmysons on social media!
Rate This Recipe
Share This Recipe
Enjoyed this recipe? Share it with friends and family, and don't forget to leave a review!
Comments (1)
This recipe looks amazing! Can't wait to try it.
Comments are stored locally in your browser. Server comments are displayed alongside your local comments.
Hi, I'm Melissa!
What's Popular

Get My 30-Minute Meals email series!
Quick and easy dinner ideas delivered to your inbox.